Learn How to Direct Warp on a Table Loom
I recently found myself in a situation where I had to warp a table loom without my warping board. At first, I thought it was impossible, but after thinking about it for a while, I realized that I could direct warp it, just like I do with my Rigid Heddle Loom. After I few trials and error, I came up with the method that I am showing in this tutorial. Watch the tutorial below to learn how to direct warp on a table loom!
It was very important for me to share my discovery with other fellow weavers who might experience the same problem. I agree, it might not be ideal, but it works!
Disclaimer: Links included on this page might be affiliate links. This means that if you purchase a product or service with the links that I provide, I may receive a commission. Please note that there is no additional charge to you. This helps me keep going and create more tutorials.
How I did it
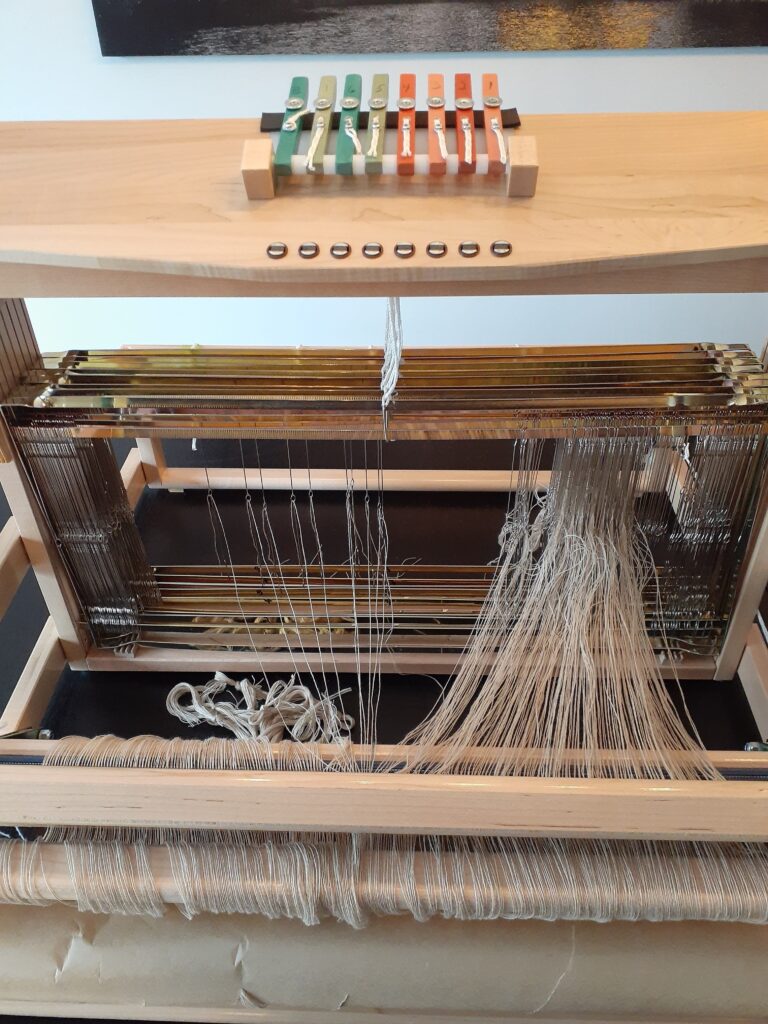
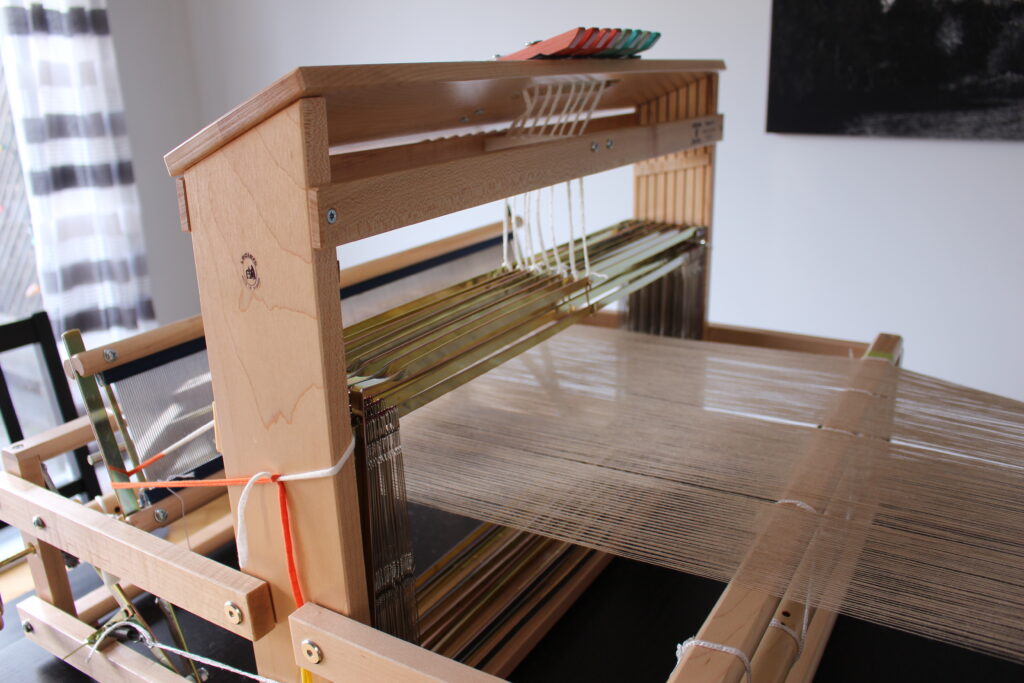
For this method to work, I had to warp the loom backwards: from front to back. I started by moving the thread around the FRONT warp rod, then though the reed and to the warping peg located about 2.6m (104”) further. For weavers who have experienced direct warping with a rigid heddle loom before, I used the reed the same I usually use my rigid heddle. The magic behind this method is that when I pass the yarn through the reed, I make a loop which organically double the threads in each dent. For this particular project, I used 16/2 cotton doubled in a 12-dent reed.
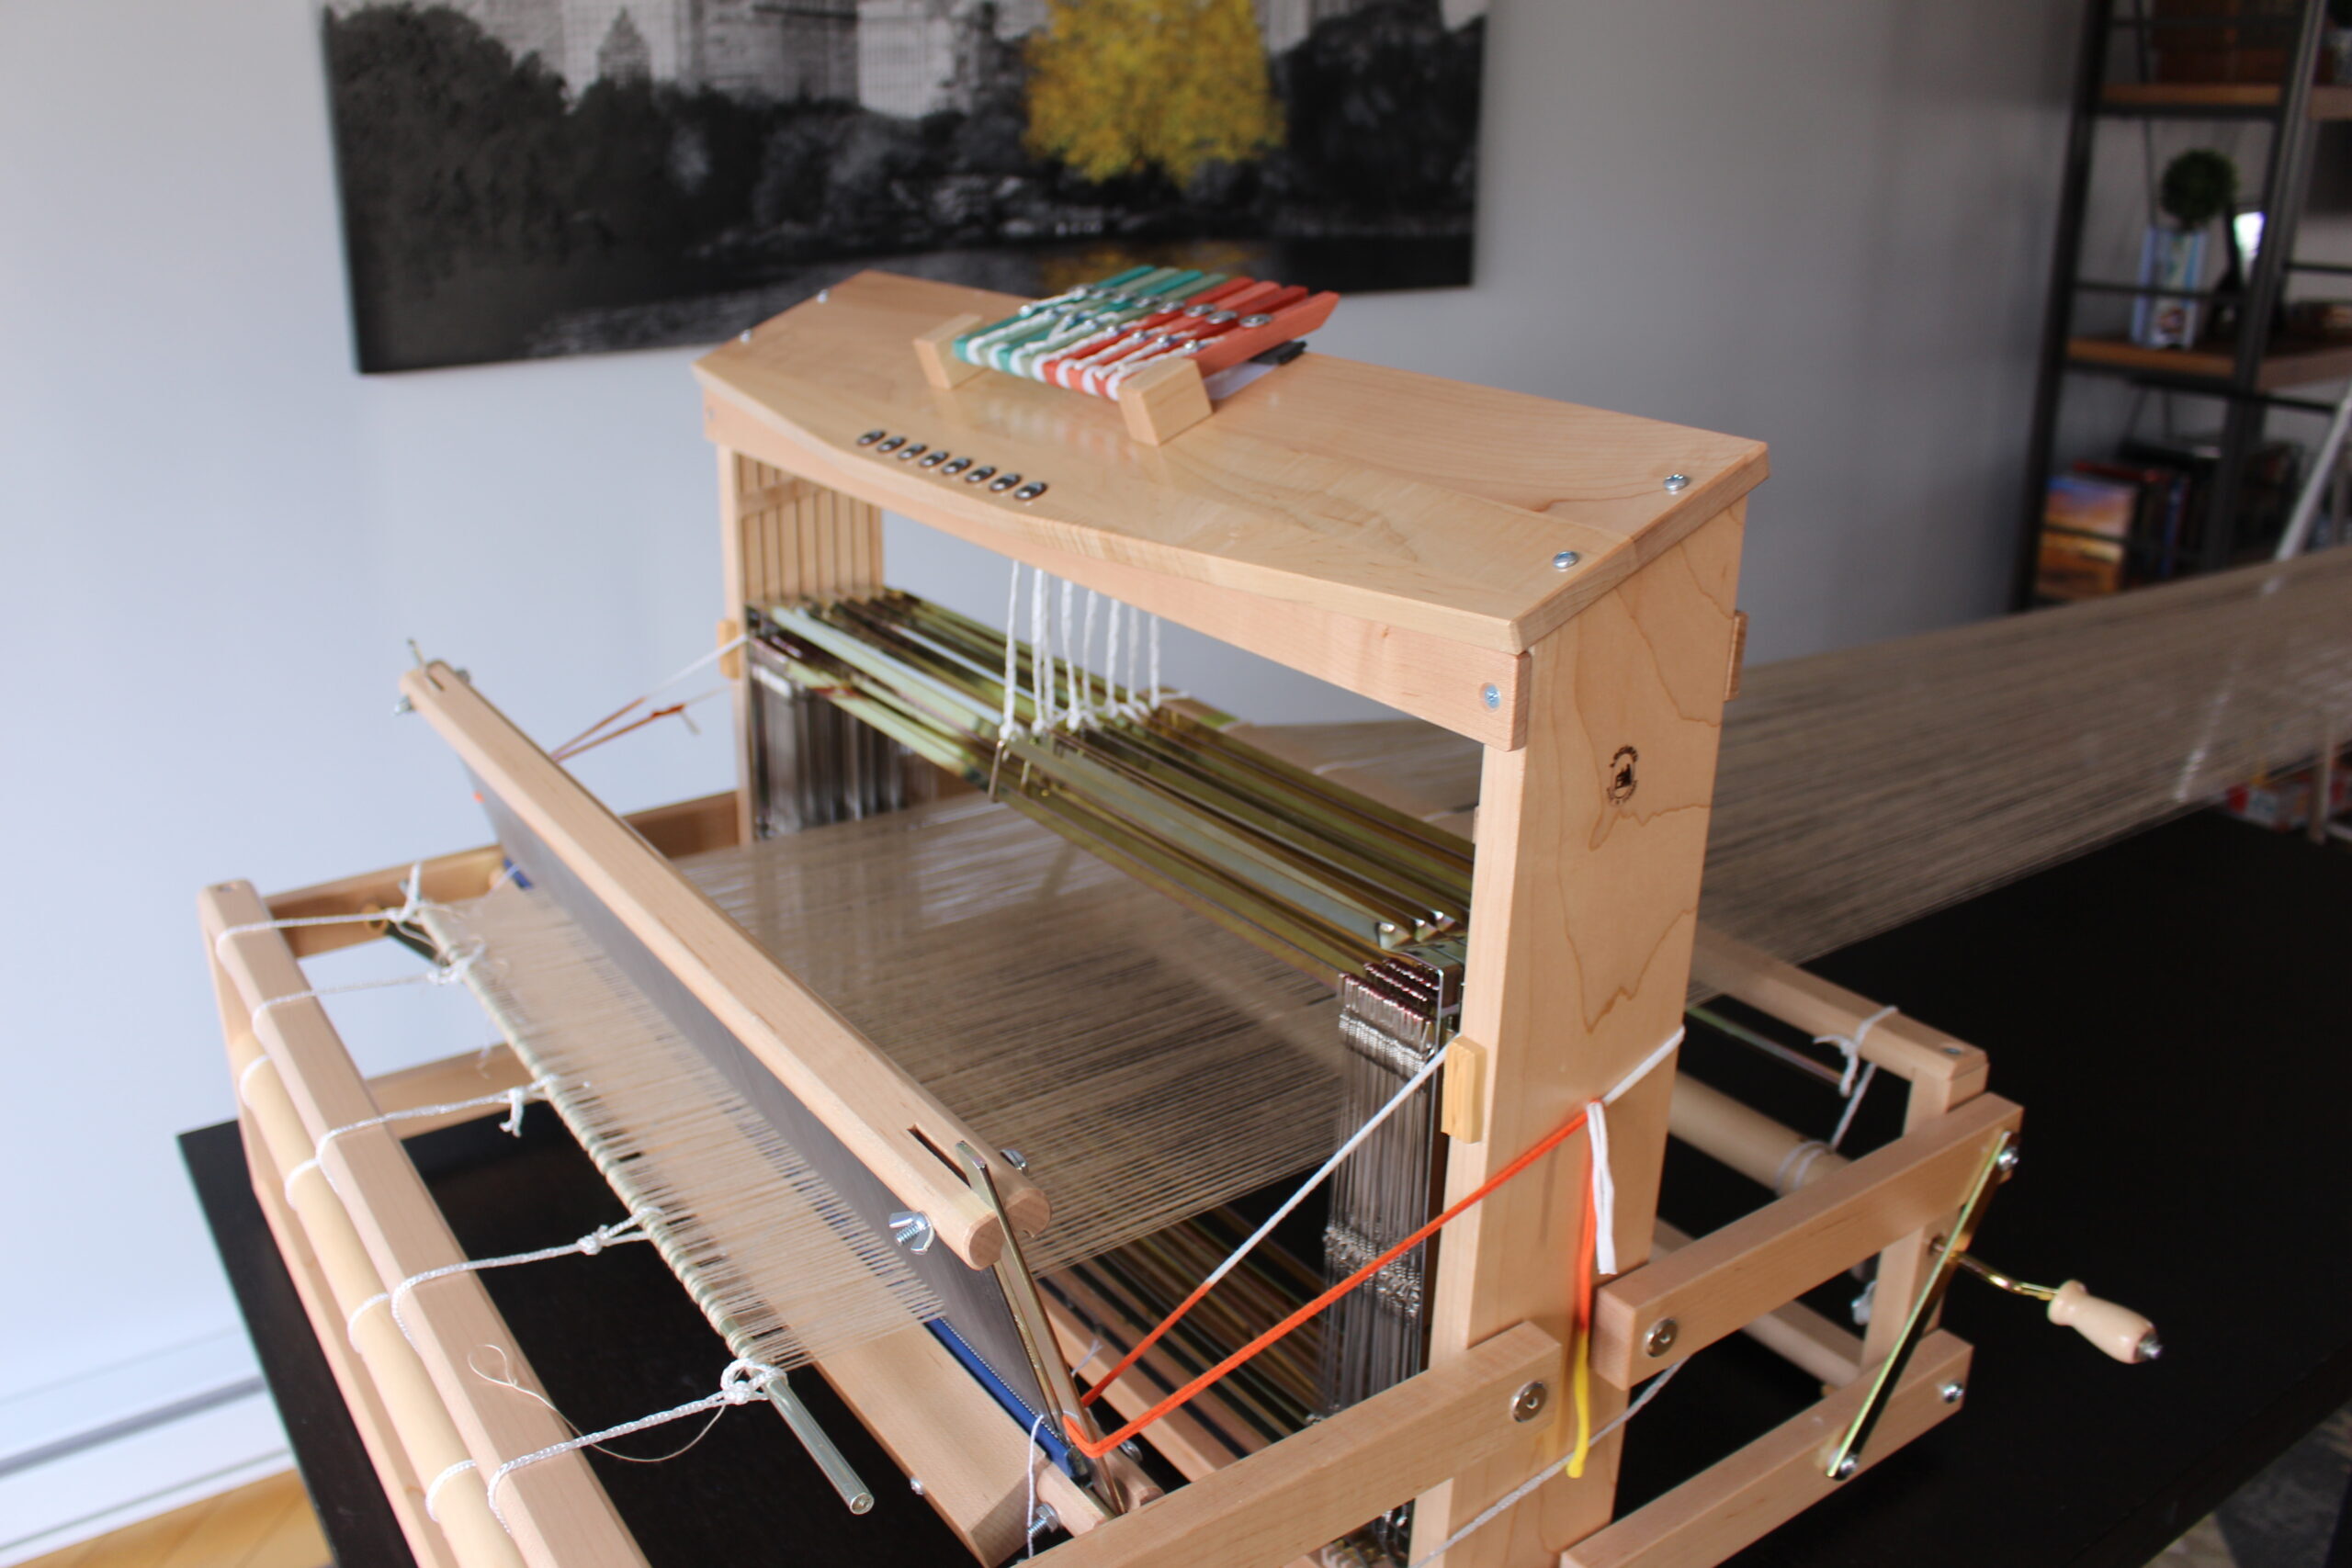
This table loom a is Leclerc Voyageur 8-schaft and it is 24″ wide. This exact same loom, and many others, are available through The Woolery online shop. Here’s a link to it: https://woolery.com/weaving/weaving-looms/table-looms.html?aff=214
Once I had warped the desired width, I winded the warp onto the FRONT beam. I left enough length so I could thread the heddles and attach the ends to the back beam. While winding the warp, I was extra careful to maintain an even tension.
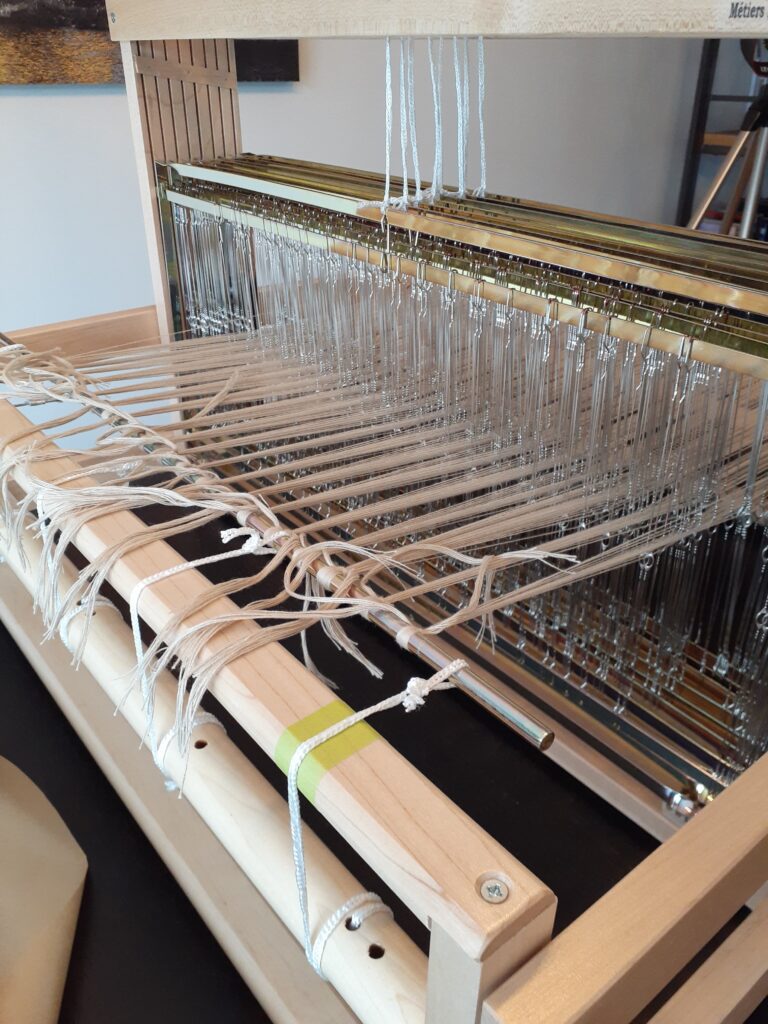
Then it was time for threading. With this method of direct warping, the threads are already slayed into the reed. This helped a lot with keeping the right sequence of my threading. To make sure that my ends wouldn’t get all tangled up, I attached the ends together every time I had threaded about an inch. After what seemed like forever, I was finally done!
Then I had to attach all the ends to the back rod. I was again extra careful to make sure that I had an even tension. Once I was satisfied, I winded the warp from the front beam onto the back beam.
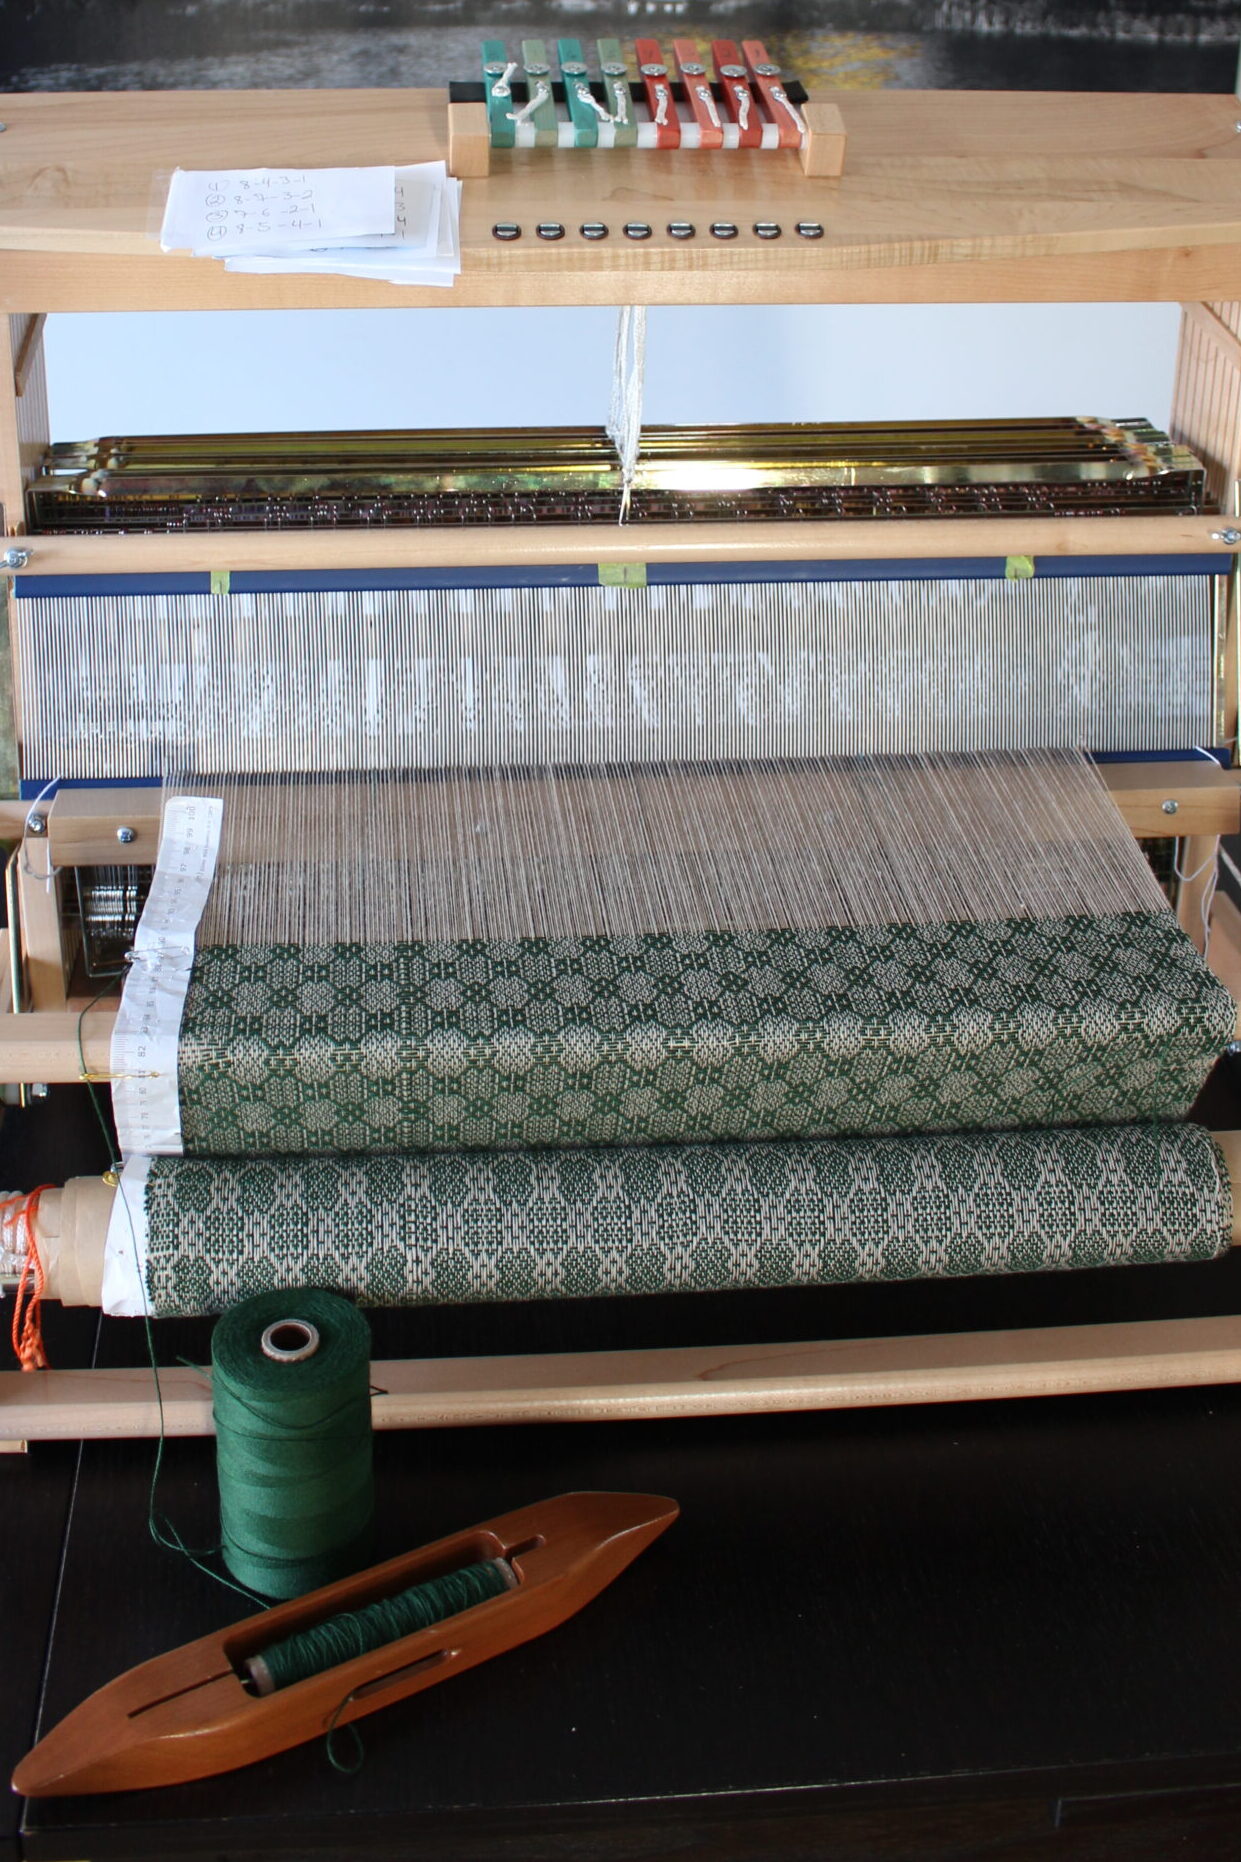
Then the fun started: Weaving!!!
Lessons Learned
Direct warping on a table loom, and in general, is more suitable for shorter warps. In this project, the warp was only long enough for one scarf. Considering the time it took to thread the heddles, I really wish the warp would have been long enough to make several scarves. However, I am limited in space and I could only warp for several meters in my living room. So, I would recommend this method for emergencies!
The second lesson that I learned is that a determined weaver can achieve anything! Even without the right tools, I managed to warp my loom and weave a beautiful scarf. This reminds me of the saying: You can do anything if you put your mind to it!
Let me know if you ever try it!
What to watch next?
Weaving Plaid
Learn the basic of weaving plaid and discover the concept of plain weave in this quick tutorial.
Beginner’s Scarf
Here’s the perfect project on a rigid heddle loom for a complete beginner!This scarf is easy and pretty!