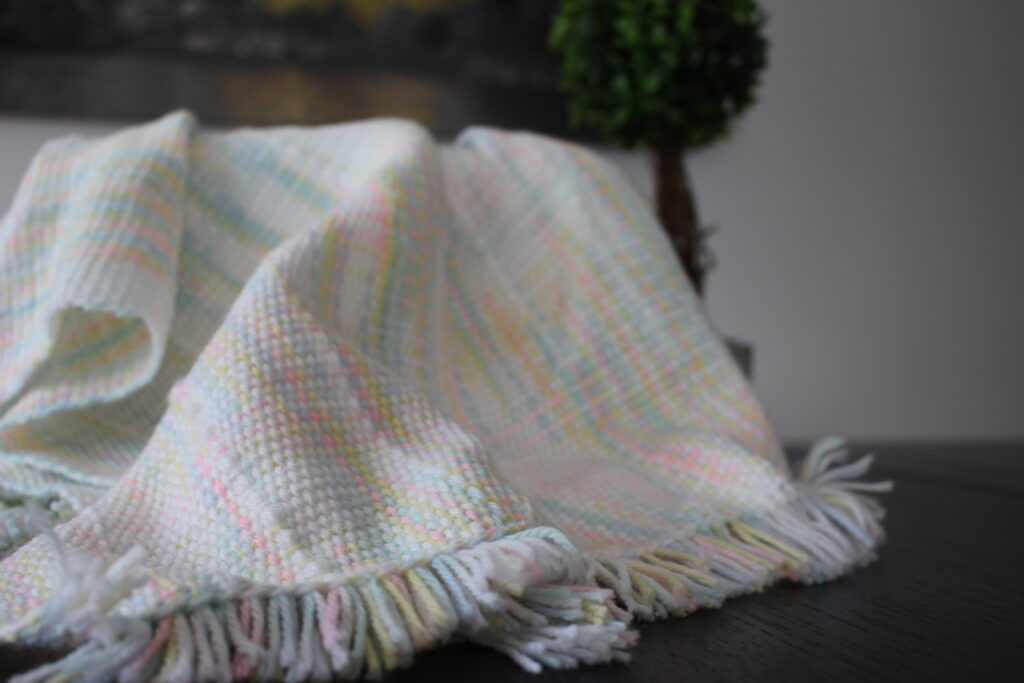
Easy Textured Baby Blanket Pattern
Here’s a tutorial on how to make a very easy baby blanket project on a rigid heddle loom. I wanted this project to be simple, but still visually interesting. I decided to use some variegated acrylic yarn because I am a big fan of yarn that changes color by itself. It always makes fascinating project without much effort. However, for this project, I thought that the variegated colors themselves were not enough. This is why I decided to add some texture in the warp in the form of textured stripes. Here’s how I did this easy textured baby blanket pattern.
Disclaimer: Links included on this page might be affiliate links. This means that if you purchase a product or service with the links that I provide, I may receive a commission. Please note that there is no additional charge to you. This helps me keep going and create more tutorials.
Planning the pattern
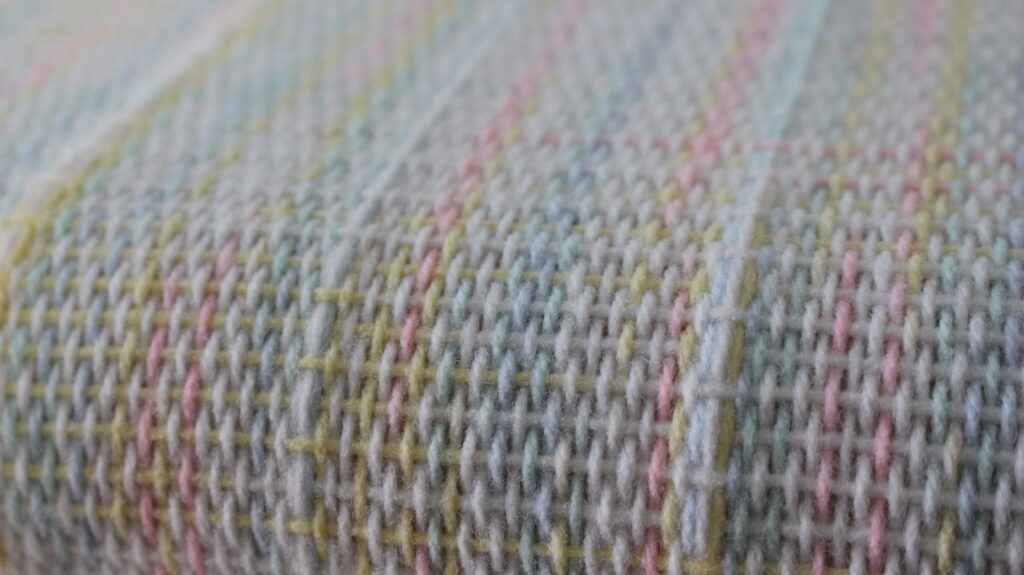
In weaving, planning the project is as important as the weaving itself. So, I took the time to sit down and plan it all out. To help me, I used some paper tape measure that I fixed to the bottom of my heddle. This way, I was making sure that the texture stripes will be evenly spread out. I decided to make those stripes at every 2”. I used some scarp yarn to indicate where I wanted the stripes. This would help me when I will be warping.
I started calculating from the middle of the heddle to make sure that the pattern would be symmetrical. After I finished indicating every 2” spots, I realized that I wanted more. Therefore, I decided that some textured stripes will be thicker than others. Again, starting from the middle of the heddle, I indicated with anther color of scrap yarn every other 2” spot.
In a nutshell, where the scarp yarn is beige, I will be doubling the warp threads. Where there is the beige scrap yarn and the blue scrap yarn, I will be tripling the warp threads. This I how I will get the textured stripes in the warp.
The specifics
As it is a baby blanket, I warped all the way through my heddle. I own an 80 cm (32”) Ashford rigid heddle loom. I find that this is the perfect width for this kind of blanket. Also, if you have a smaller loom, it would still be possible to make this project. You would simply need to weave multiples panels and sew them together. The seem can even work as a textured stripe!
I used light acrylic yarn size 3. It worked well in my 12.5 heddle. I think it would also work great in a size 10 heddle.
If you are looking to buy extra heddles, the Woolery has them all! You can access their shop through this link: https://woolery.com/weaving/reeds-heddles-raddles/rigid-heddles.html?aff=214
Finishing touches
Once the blanket was off the loom, I cut the fringes. I cut them quite short for safety reasons and also because I thought it was cute! After, I gave the blanket a good bath, I ironed it and it was ready to be given away! It’s so nice to give I gift that will warp a baby in love and warmth. It’s even better when it’s such a nice textured baby blanket pattern.

More Tutorials
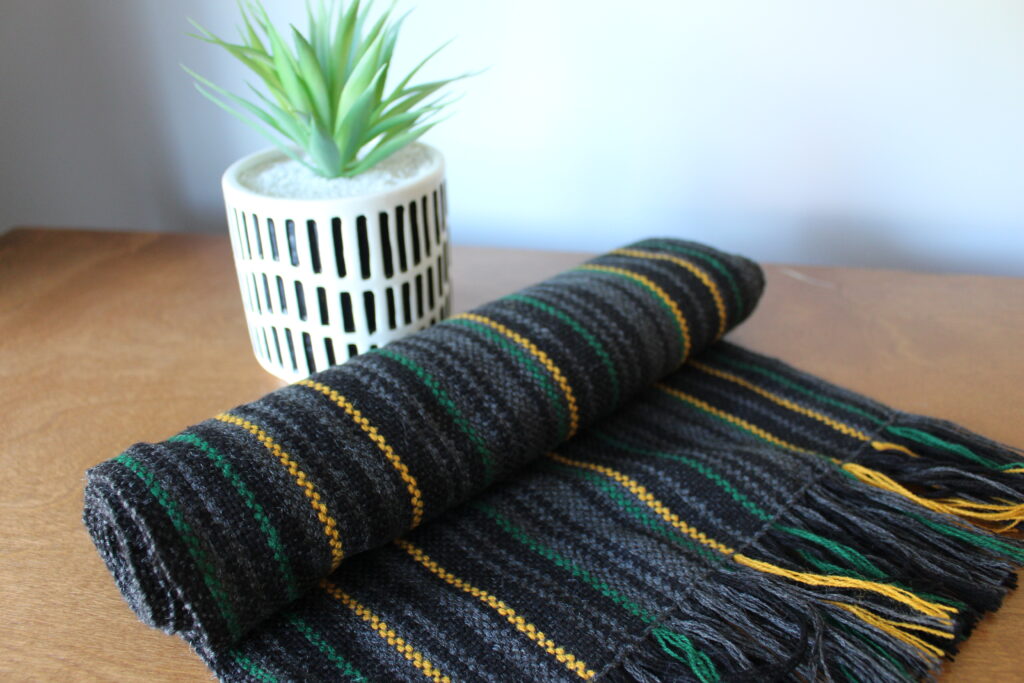
Weaving a Man Scarf: a Random Pattern
Watch this tutorial on how to weave a man scarf on a rigid heddle loom.
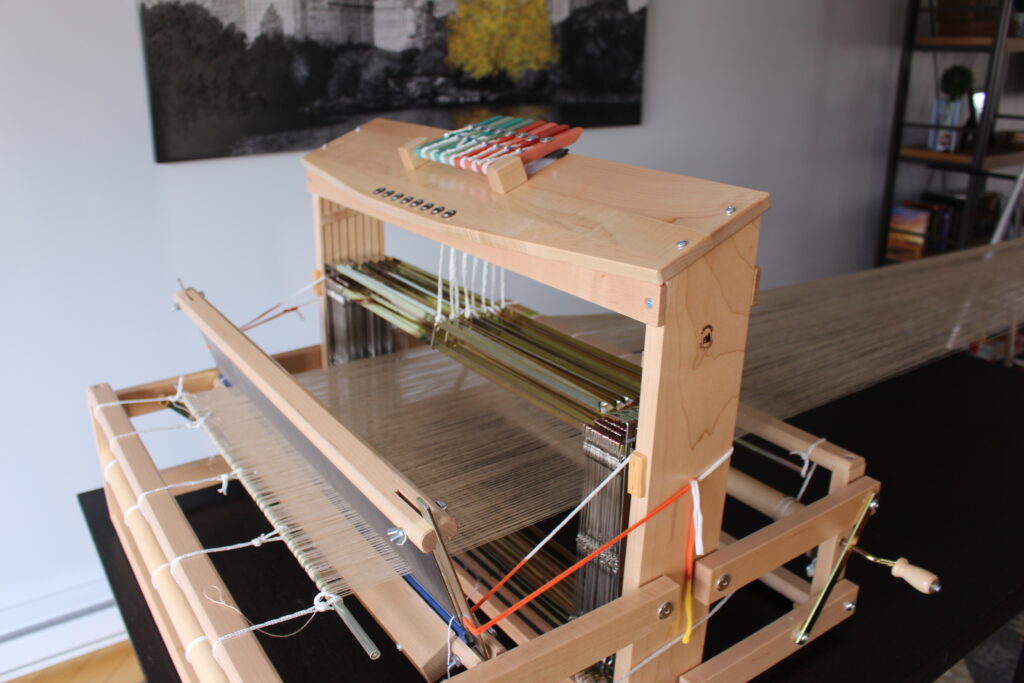
Direct Warping on a Table Loom
This quick tutorial explains how to direct warp a table loom.