Weaving a Spring Scarf
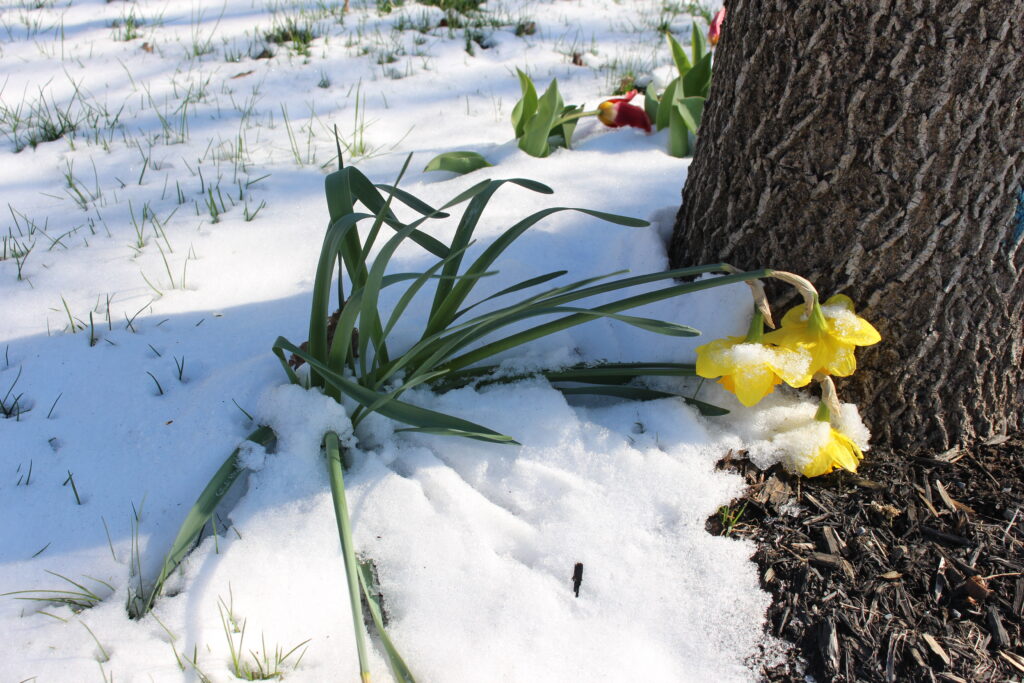
In today’s project, I will be weaving a spring scarf using tencel on my rigid heddle loom. As I am writing this, spring has barely started in my beloved and cold Canada. Even though we have had some flowers already, we have not yet seen the last snow! This is why I really need this spring scarf to make me believe that spring has really arrived!
Disclaimer: Links included on this page might be affiliate links. This means that if you purchase a product or service with the links that I provide, I may receive a commission. Please note that there is no additional charge to you. This helps me keep going and create more tutorials.
The specifics
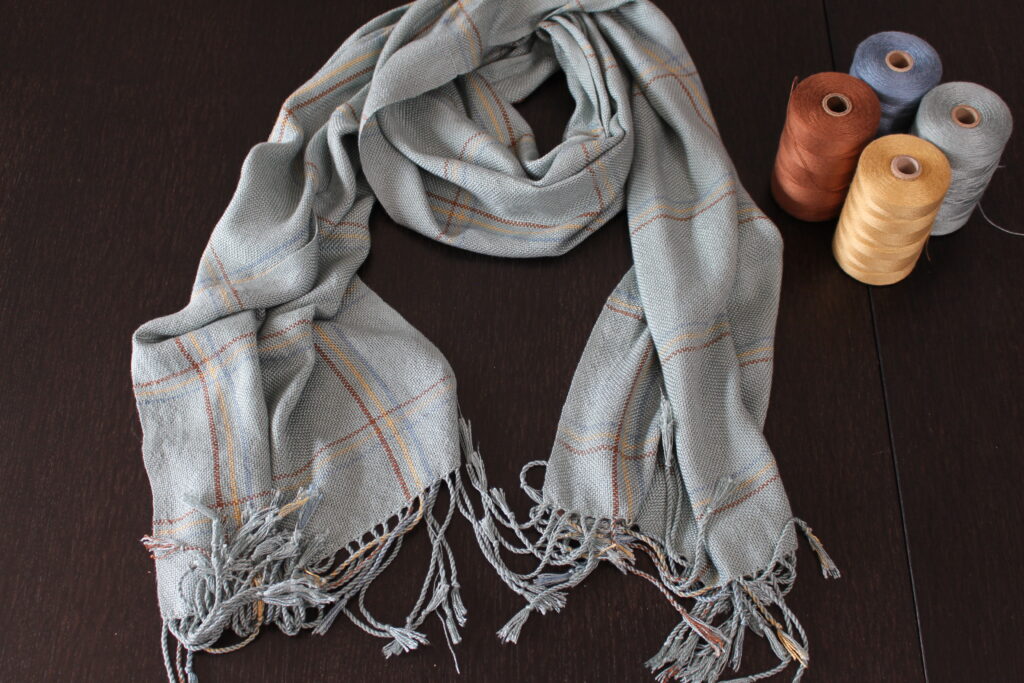
For this project, I used 8/2 tencel from Maurice Brassard. I chose tencel for this project for many reasons. First, it’s very soft to the touch and I feel great around my neck. Secondly, I decided to be weaving a spring scarf with this yarn because it has a nice silky finish. The woven piece almost looks like it was made out of silk, but at a fraction of the price. Here are the exact names of the colors used:
-Teal-T5068 (this one is the same word in French an English!) I used one whole cone and a bit of another one
-Vieux bleu-T94 (which means “old blue”)
-Viel or-T5229 (which means “old gold”)
-Brun-T8024 (which means “brown”)
Those colors are all available through The Woolery’s website. Here’s the link:
https://woolery.com/maurice-brassard-tencel-8-2-yarn-1.html?aff=214
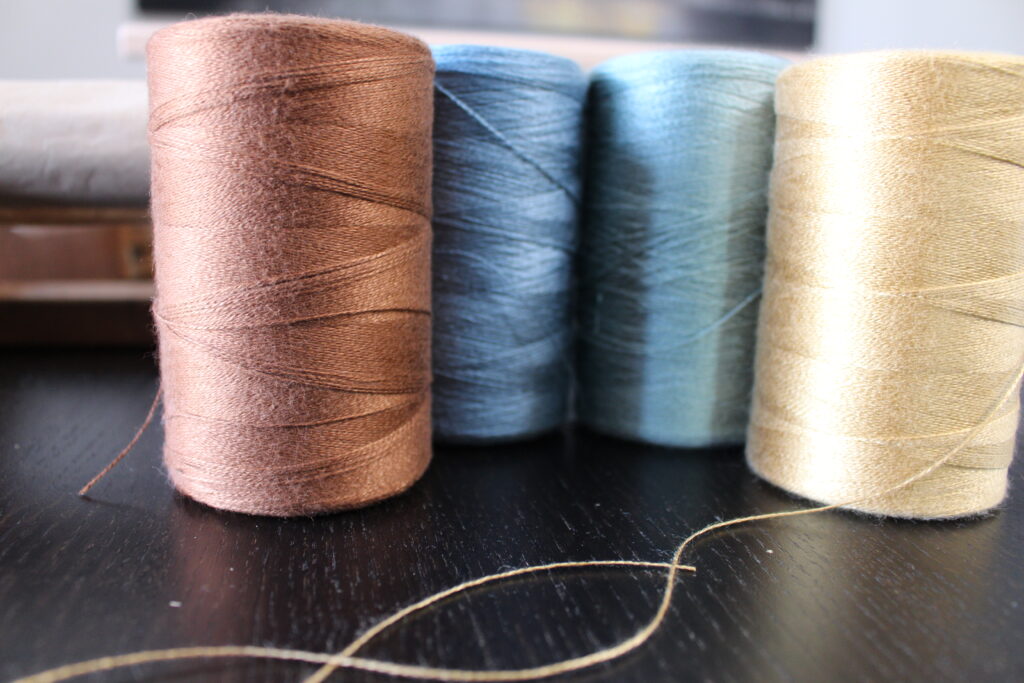
I choose those pastel colors because to me, they represent the simplicity of spring.
For this spring scarf, I used my 12.5 heddle and I direct warped for a length of 2.5m (100”). The width was just a little less then 50cm (20”). Also, I have doubled the warp yarn, which means that I have two threads in each slot and in each hole. However, I did not double the weft yarn.
Doubling the Warp
Doubling the warp allows me the have more threads per inch and hence a denser fabric. It’s pretty simple to achieve while direct warping. As you know, when we direct warp, we pull one loop out of each slot. This then creates 2 threads in our slot. Normally, we would take one those thread and put it in the hole right next to it during the threading process. However, when we want to double the warp yarn, we pull one loop out of each slot and one loop out of each hole during the warping. The yarn is then magically doubled and the heddle is threaded!
The Warp Pattern
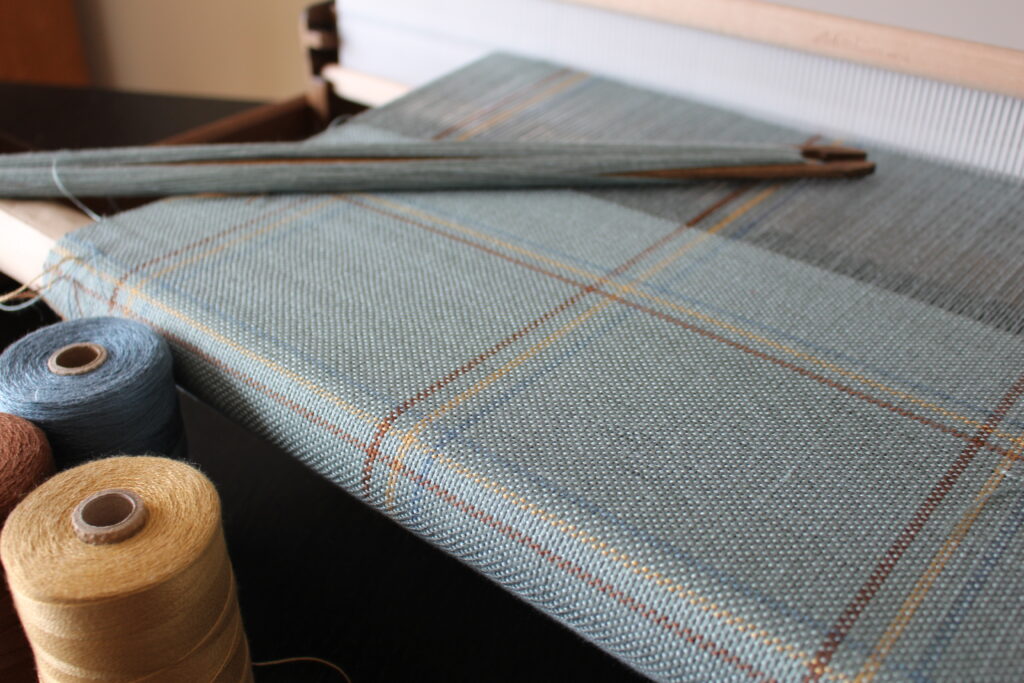
I used Excel to plan the warp pattern of this spring scarf. Here a blog post with more details about how I use this tool. The design of this pattern is very simple and the colors are soft. The teal is the predominant color and I chose it because it reminds me of pale green leaves blossoming in maple trees. The blue is for the bring blue spring sky and the old gold reminds me of daffodils. Finally, the brown is for the mother earth coming back to life.

In the pattern, I have a color design made of 3 thin stripes of the colors brown, gold and blue. In between the stripes, I have teal again. The teal stripes are twice as large as the other color stripes. I find that it gives the design a really interesting look. This color pattern happens trice in the whole scarf.
The Thread Count
Since that I am doubling the threads in the slots and in the holes, it can quickly become confusing to follow the pattern if I talk in terms of threads. In order to simplify it, I will talk in terms of loops that are pulled out in the direct warping process. Here are the calculations for the project.
I used my 12.5 heddle and I wanted a width of about 50cm (20”). This means that I would need to thread 250 loops. In other words, I will thread 125 holes and 125 slots. In the end, I ended up with threading 123 holes and slots, so the scarf is a little less then 20” wide. Also, it’s important to note that on the excel file, one column represents one hole and one slot threaded.
Here is the exact thread counts of the pattern, from left to right:
-16 holes and 16 slots of teal
-1 hole and 1 slot of brown
-2 holes and 2 slots of teal
-1 hole and 1 slot of old gold
-2 holes and 2 slots of teal
-1 hole and 1 slot of old blue
-35 holes and 35 slots of teal
-1 hole and 1 slot of brown
-2 holes and 2 slots of teal
-1 hole and 1 slot of old gold
-2 holes and 2 slots of teal
-1 hole and 1 slot of old blue
-35 holes and 35 slots of teal
-1 hole and 1 slot of brown
-2 holes and 2 slots of teal
-1 hole and 1 slot of old gold
-2 holes and 2 slots of teal
-1 hole and 1 slot of old blue
-16 holes and 16 slots of teal
The Weft Pattern
The weft pattern is pretty straight forward: I imitated the warp pattern. I wove 10cm (4”) of teal, then I did the color stripes and I repeated this until the end. There are 2 major differences between the warp and the weft. First, the teal part of the warp is about 5” wide and the teal parts of the weft are 4” wide. This means that they make more a rectangle than a square when they meet. Secondly, the warp threads were doubled whereas the weft threads are singled.
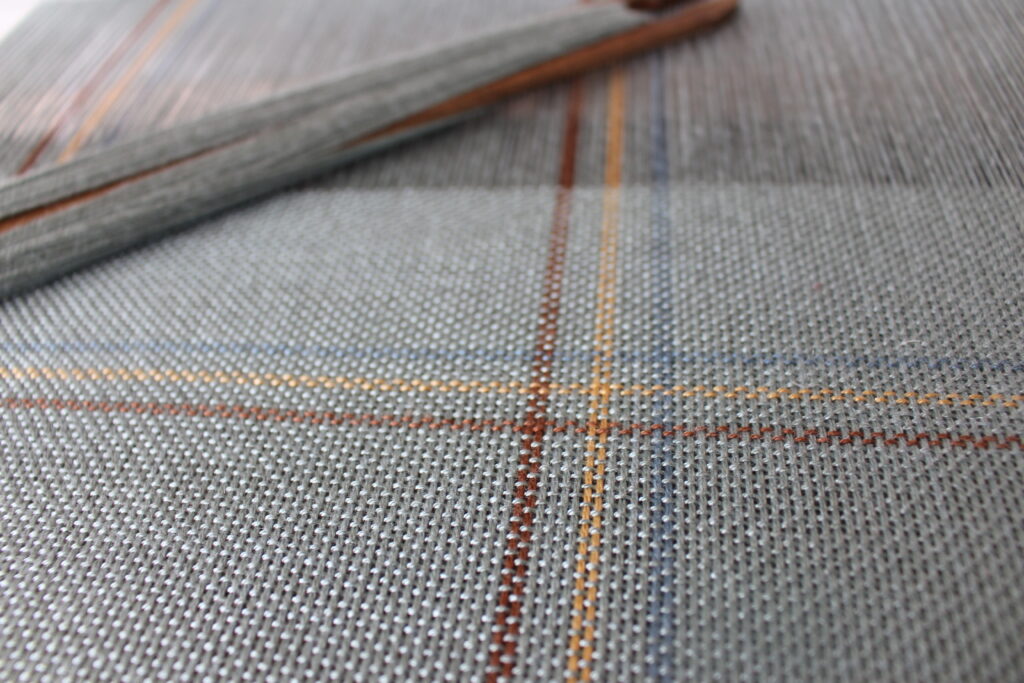
Here is the exact thread count of the color pattern for the weft:
-2 picks of brown
-4 picks of teal
-2 picks of old gold
-4 picks of teal
-2 pick of old blue
Also, I wove 5cm (2”) of teal at the beginning of the scarf before doing the first sequence of the color pattern. At the end, I did the last color sequence and then I wove another 5cm (2”) of teal. The pattern is then the same at the beginning and at the end of the scarf. I also hemstitched both ends.
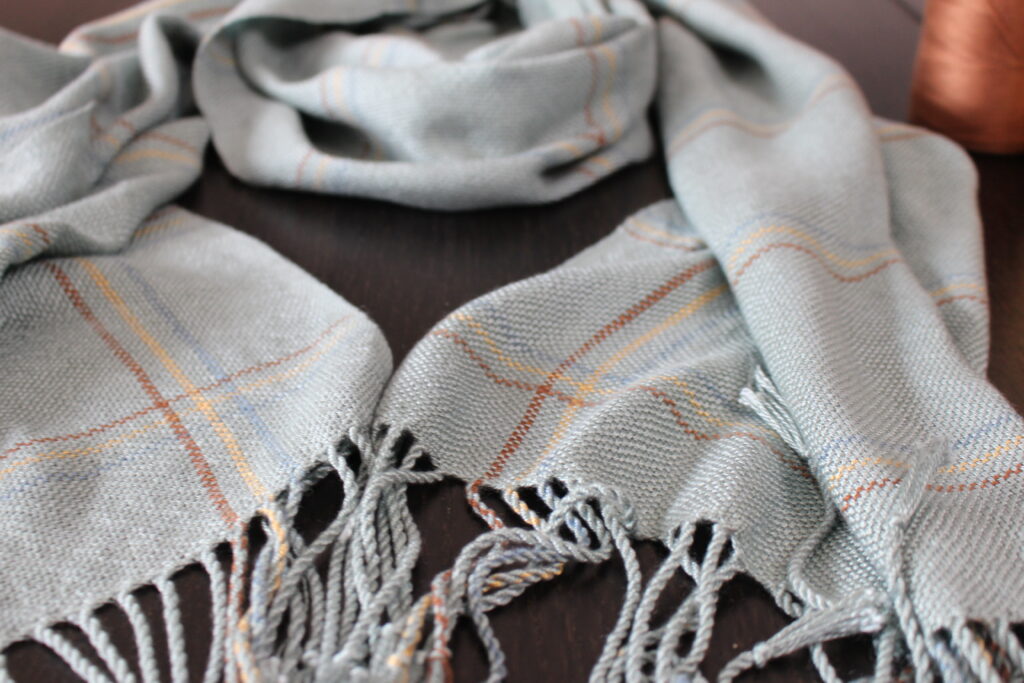
The Final Projects
I wove for about 2m (80”). Once of the loom and wet finished, the length was 1.9m (76”) and the width was 43cm (17”).
I like my scarf very long! I also left fringes of about 10cm (4”) that I twisted.
Since teal was the predominant color, I used quite a lot of yardage. In total, I used one full cone and a bit of a second cone. With the first cone, I manage to weave for close to 65”. You might not need two cones if you prefer your scarf shorter and narrower. In any cases, I hope that you will like weaving a spring scarf as much as I did! Let’s hope that spring is here to stay now!