The Stain-free Napkins make a fun Color-and-Weave Project!
This handwoven project was all about combining function with beauty — the kind of piece that not only looks good but works hard, too. Meet my “Stain-free Napkins”: a set of handwoven cotton napkins thoughtfully designed to hide stains with style.
The idea came from a very real, very relatable problem — cloth napkins are lovely, but they will get stained. So I wanted to create a pattern that would be busy and bold enough to camouflage the messes of everyday life while still feeling soft and elegant.
Disclaimer: Links included on this page might be affiliate links. This means that if you purchase a product or service with the links that I provide, I may receive a commission. Please note that there is no additional charge to you. This helps me keep going and create more tutorials
THE YARN
For this project, I used 8/2 cotton yarn from Maurice Brassard, one of my go-to suppliers for quality and colour variety. The palette is a cozy and practical mix of:
- Sierra (1391) – a rich, earthy brown
- Gris Pâle (415) – a soft, pale gray
- Jeans (4271) – a calm, denim blue
If you are in the US, Those yarns are all available through The Woolery’s website: https://woolery.com/maurice-brassard-cotton-yarn-8-2.html?aff=214
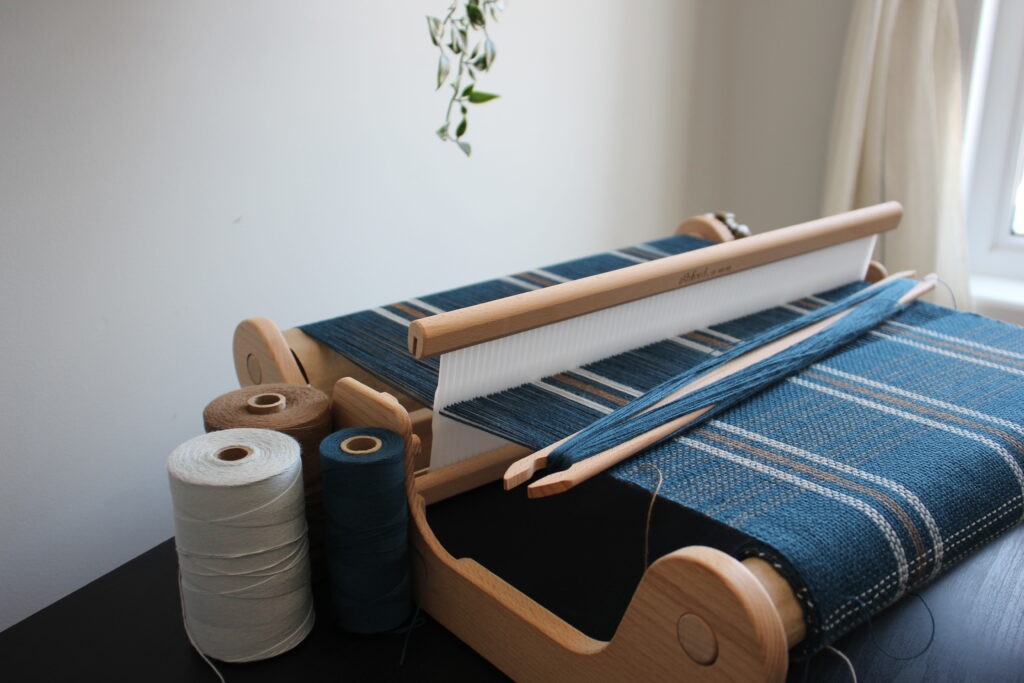
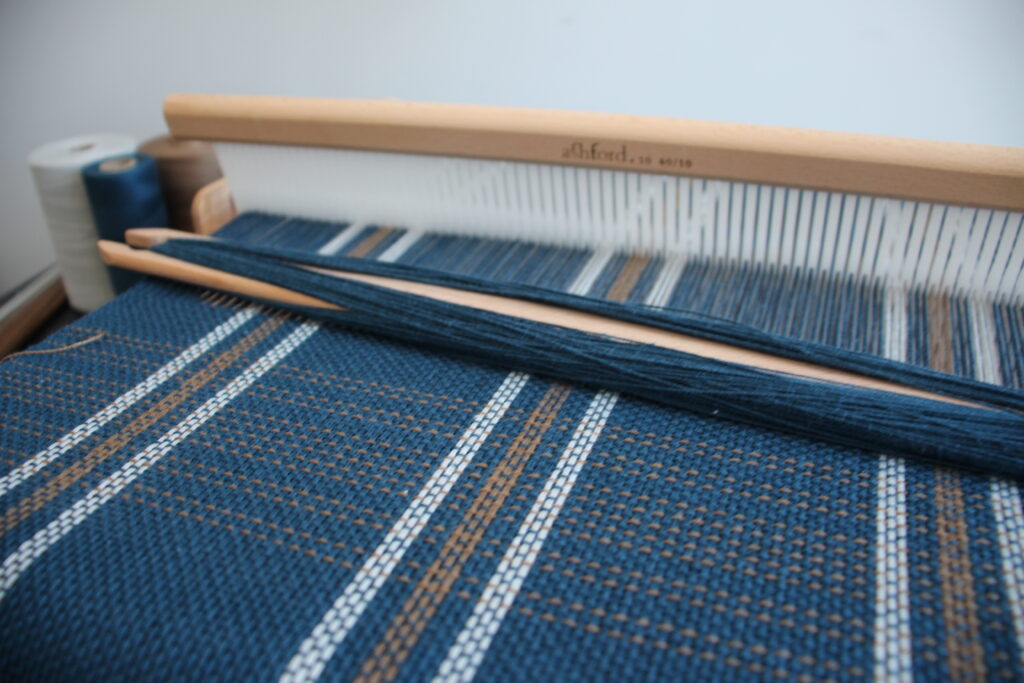
THE LOOM AND HEDDLE
I wove these napkins on my 16″ Ashford SampleIt loom, using a 10 DPI heddle — but with a twist: I doubled the warp threads through the heddle, giving me 20 ends per inch. This made for a denser fabric, perfect for napkins that feel substantial and absorbent. The weft was singled, keeping the balance just right between texture and drape.
If you are in the US and looking for the same loom, The Woolery has it! Here’s their website: https://woolery.com/ashford-sampleit-loom-16.html?aff=214
THE WARP
The full warp measured 2.6 meters (104″), which was enough to weave four napkins and allow space for waste yarn and loom waste. I warped the full width of the loom 40cm (16″), which gave each napkin a generous and practical size.
THE WARP PATTERN
The pattern is a variation on the classic colour-and-weave technique, which plays with alternating colour sequences in the warp and weft to create complex-looking patterns using a plain weave structure. It’s a great reminder that sometimes, visual impact comes more from colour play than complicated threading.

I created my pattern by dividing both the warp and the weft into three color blocks. By alternating these sections, the woven cloth forms a striking visual grid — dynamic enough to distract the eye from any accidental stains, while still feeling cohesive and intentional.
The Draft
Here’s a picture of the draft and the exact threads count of each section.
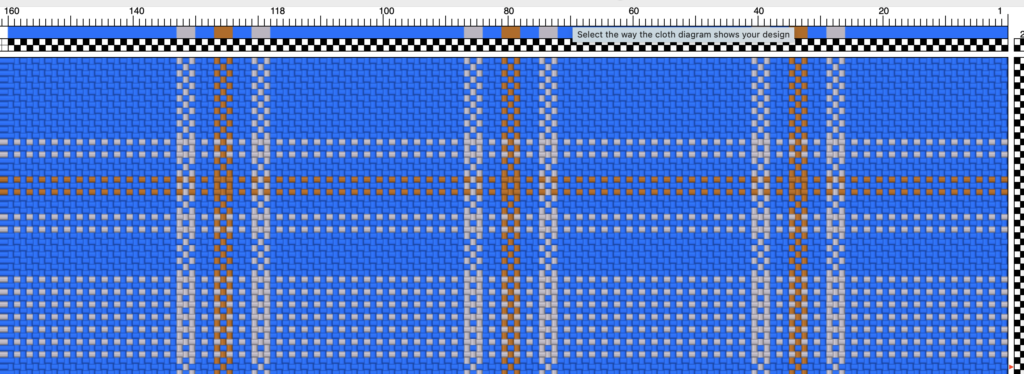
First note: I separated the thread count into two sections: the first one is the number of threads and the other one is the number of loops. Since that I used the direct warping method, sometimes, I find it easier to count the number of loops pulled instead of the number of threads.

Second note: For each 3 loops of colors, I warped them in this sequence:
1 loop in the eye
1 loop in the slot
1 loop in the eye
This will be important when weaving and the forming of the pattern!
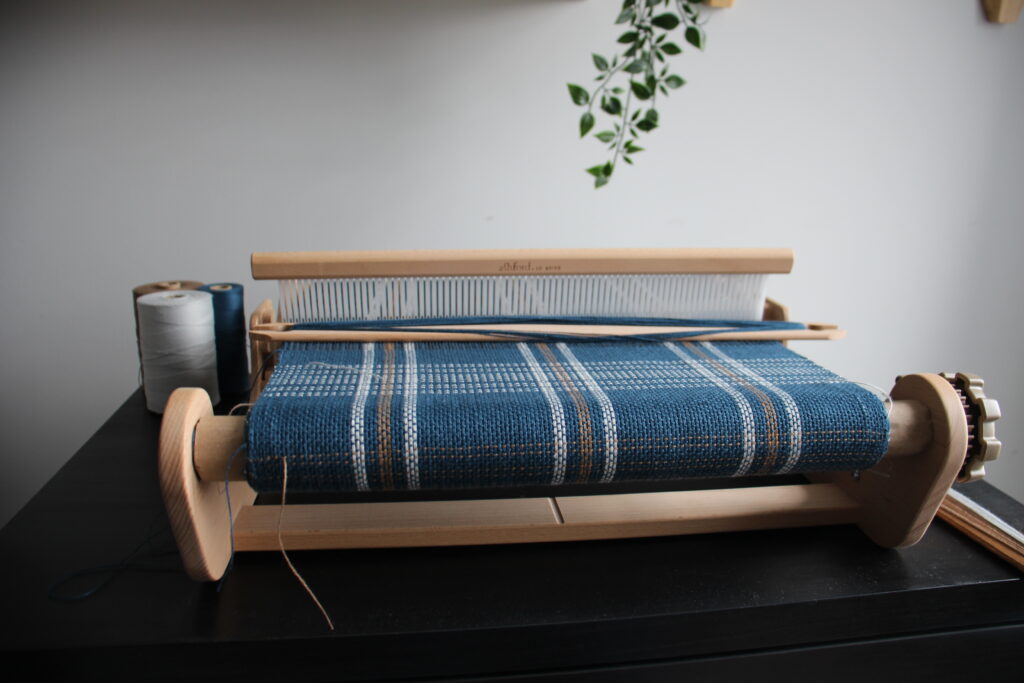
THE WEFT
The magic of the colour-and-weave effect really came to life in the weft. I wove three blocks of color into the weft — two in gray and one in brown — echoing the structure of the warp.I chose a pattern that reminded me of little ladders — simple and geometric, but full of charm. To make things even more dynamic, I incorporated stripes within the pattern, which gave the fabric movement and visual interest without overwhelming the eye. It’s the kind of detail that rewards a second glance — simple at first, but layered and intentional up close.
The Pattern
Here’s the detailed steps I followed for the weaving of each napkins:
First, weave for about 10cm (4”) with the colour blue and then start the first gray block. The first pick of gray needs to be woven into the down shed in order for the ladder to form on the right side of the fabric, meaning, the one I’m looking at while weaving.
Forming the 1st stripe:
- 1 gray pick into the down shed
- 1 blue pick into the up shed
- 1 gray pick into the down shed
- After that, weave 3 blue picks: up shed, down shed, up shed
Then, repeat the steps 1 to 4 to weave the 2nd stripe.
Now we’re reaching the middle part of the block which is the big chuck of the pattern. Here’s the weaving sequence:
- 1 gray pick into the down shed
- 1 blue pick into the up shed
- Repeat steps 5 and 6 four more times (for a total of 5 gray picks)
After that, we move to the weaving a third stripe:
- 3 blue picks: up shed, down shed, up shed
- 1 gray pick into the down shed
- 1 blue pick into the up shed
- 1 gray pick into the down shed
Repeat the steps 8 to 11 for the fourth and final stripes.
Then, weave 7,5cm (3”) of blue. After that, we will repeat the pattern sequence (step 1 to 11) but in brown instead of gray.
After that, weave another 7,5cm (3”) of blue and another pattern sequence in gray.
Finish the napkin with the weaving of 10cm (4”) of blue. On the loom, this should give a napkin of about 21” long. This considered the length needed for the hem.
Weave a few picks of scrap yarn and then we’re ready to start the next napkin!
THE FINAL TOUCHES AND DIMENSIONS
Once the four napkins were woven, I cut them off the loom and tossed them into the washing machine and the dryer. Then I cut them apart and sewed the hems.
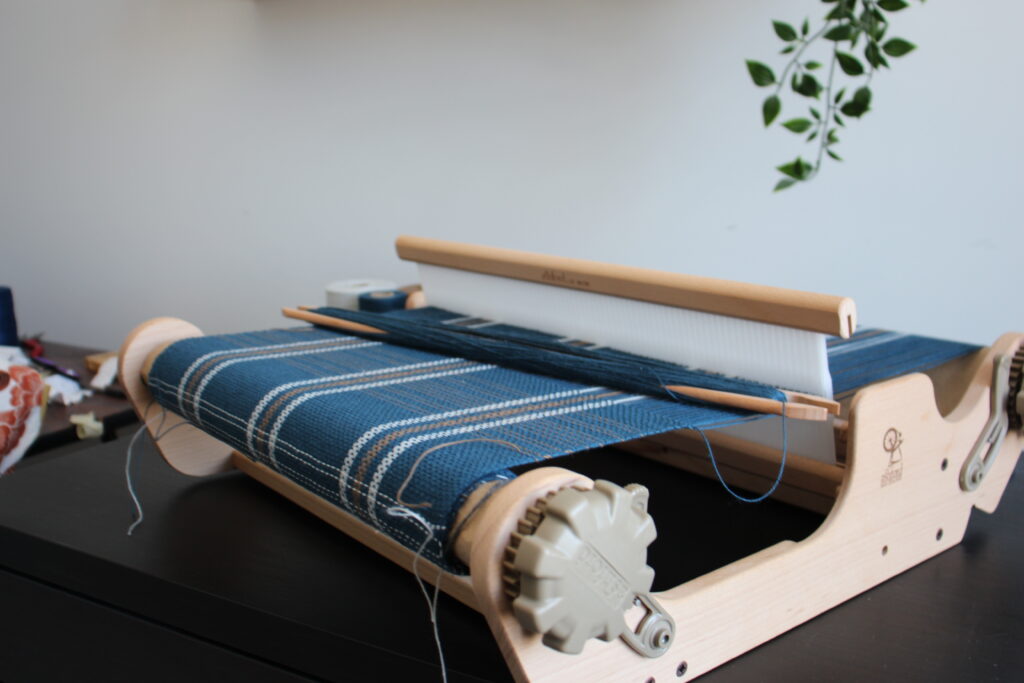
After all of that, the napkins were ready to use! They roughly all measured the same, which is 44cm (17,5”) long and 32cm (12,5”) wide.
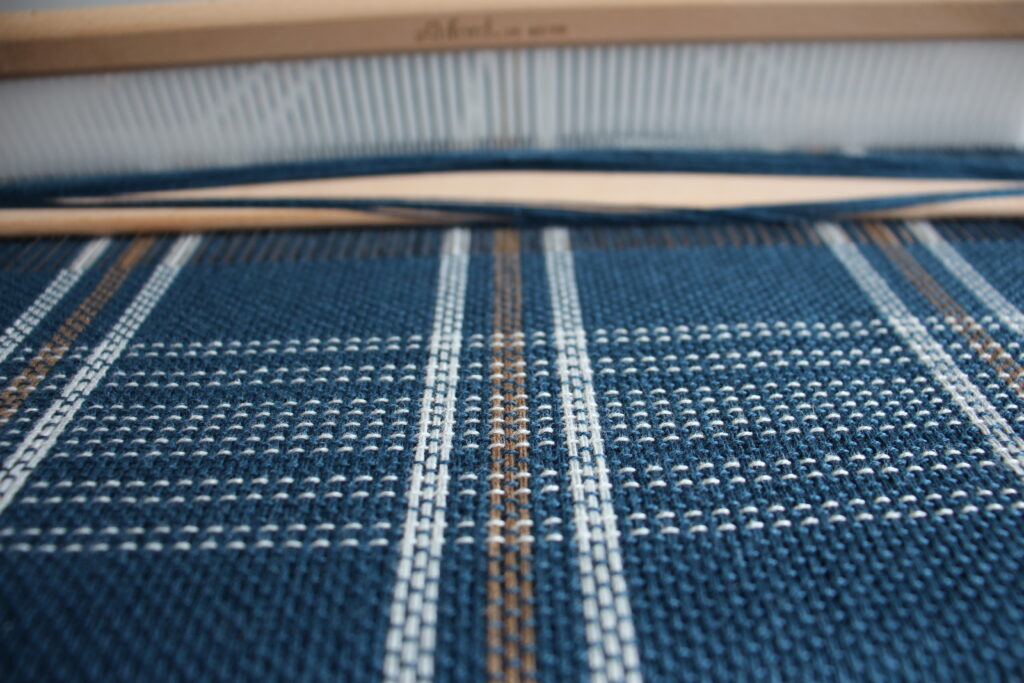
LAST WORD
The final fabric has a wonderfully tactile quality, with a depth of color and pattern that makes each napkin feel like a little work of art — but one that’s made to be used, spilled on, and thrown into the wash without worry.
I’m honestly thrilled with how they turned out. They’re beautiful, practical, and they solve a real problem in a creative way — my favorite kind of project.