Neat Selvedges
Weaving is a lot of fun, but sometimes it can give us headache trying to achieve nice selvedges. Trust me, this will not be a problem anymore! With this video, learn how to successfully weave beautiful edges! Here, I cover the basic elements every beginner needs to know in order to have neat selvedges in weaving.
These are the five tips described in this tutorial.
1. Tension is everything
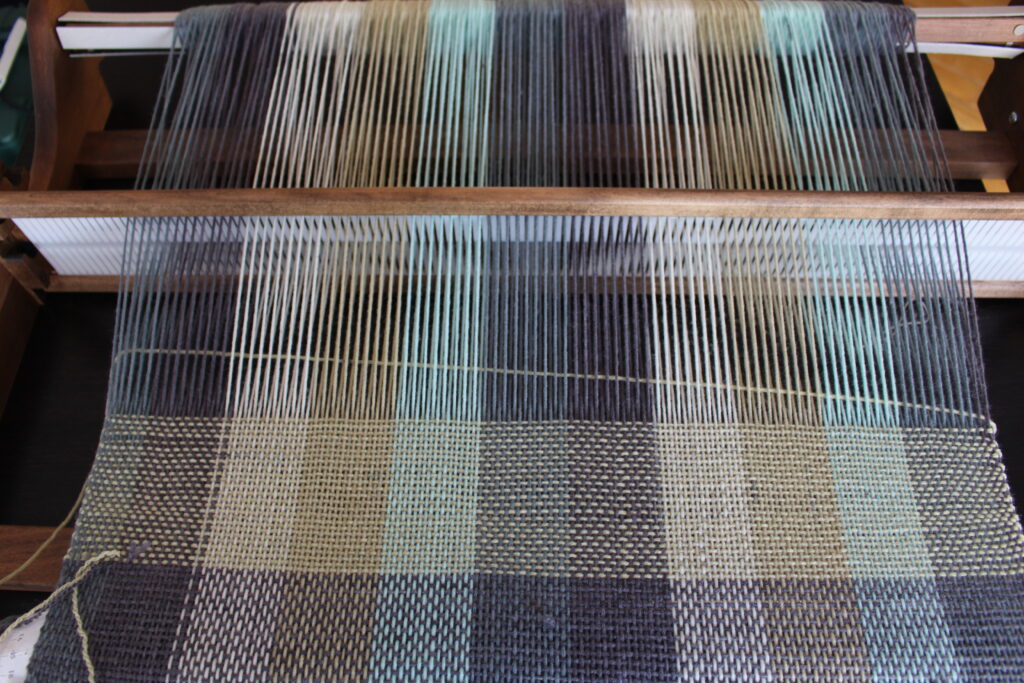
It’s very important to have an even tension throughout your warp. If the tension is not even, it shows immediately in the selvedges. I know, this is easier said than done! This is why I recommend using acrylic yarns for your first project. They are more elastics and more forgiving on tension. This means that if some strings are looser then others, then you can keep on cranking carefully the back beam. The looser threads will get more tension, while the other threads will keep on stretching and normally without breaking.
Here’s a few more tips to get a better tension on your warp:
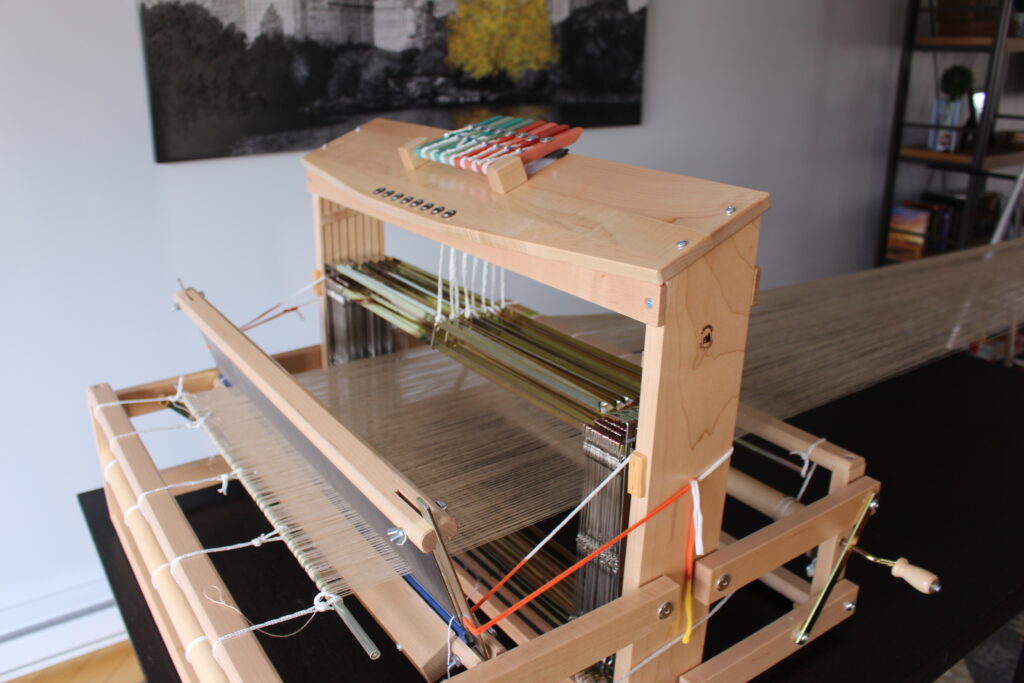
Make sure that you use warp separators when winding the warp onto the back beam. The separators can be cardboard sticks, craft paper, warping paper etc. It’s always good to try many of them and figure out what works best for you
Be careful while winding the warp onto the back beam. If you try to go too fast, this is when mistakes happened. And by mistakes, I mean having some patches of the warp that have different tension than the rest of the warp. As you move along your woven project, you unwind the warp and those patches will come out. This is when you will start experiencing uneven tension. This is why it’s totally worth it to take breaks while winding onto the back beam to make sure that the warp is even all the way through.
It’s also good to comb the threads while winding on. You will notice that some threads tend to curl and thus not having the same tension as the others. In conclusion, bad tension can be avoided by combing the treads and readjusting our grip on the warp to make sure it’s all even while winding on.
2. Pinch the yarn
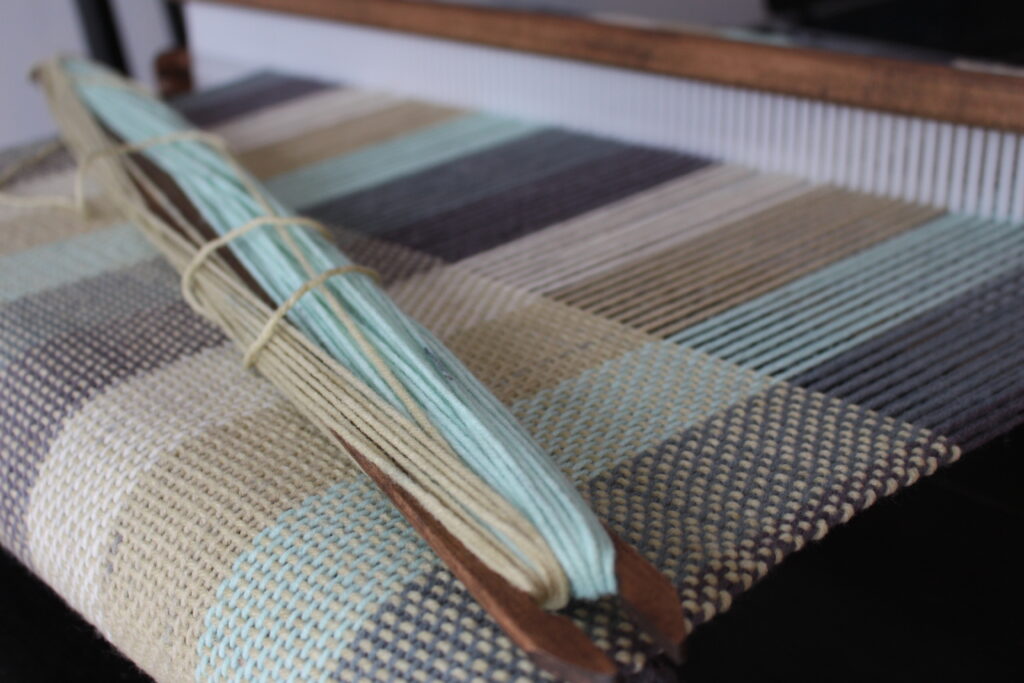
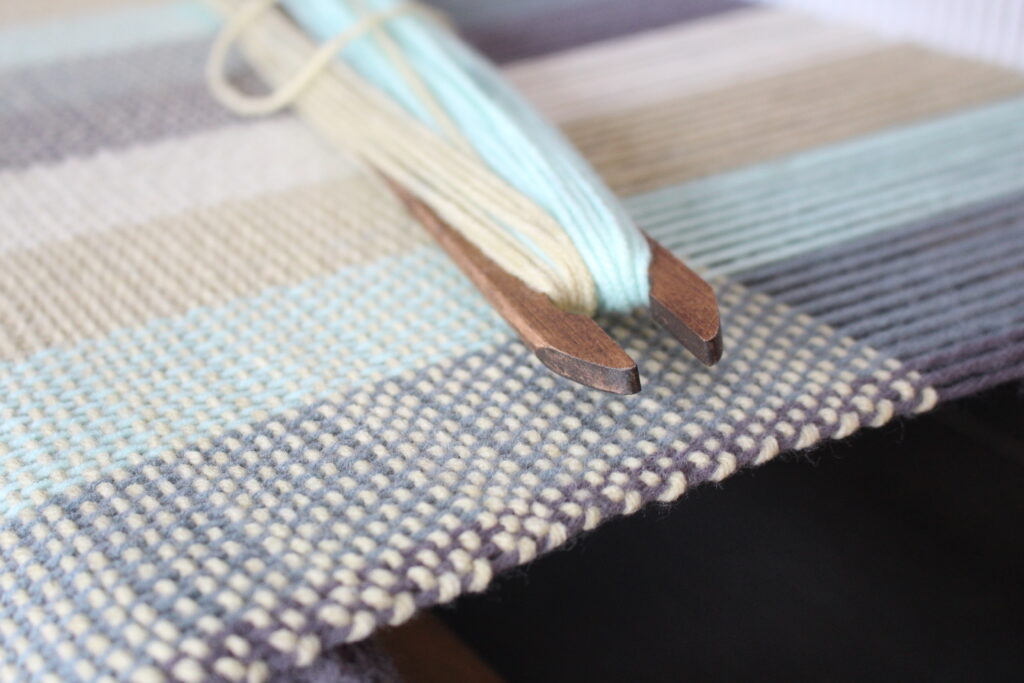
When we weave, we lift and lower the heddle in order to create a shed. We then pass the shuttle into this shed and at the same time put the weft in place. Remember, you are the weaver and thus the master of this weft yarn! You have control on where it will end up. Once the weft yarn is all through the shed, pinch it firmly between your thumb and finger at the selvedge. This “tells” your yarn to stay in that place. And finally beat! You will notice that it will not move that much, especially if you follow the following next tips.
3. The DONT’S
DON’T give too much loose on your weft yarn, because this will create bubbles on your selvedges.
As we mentioned, when we pass the shuttle and place the weft, we have a power on where it will land. This said, it’s important to really control the yarn. Before pinching, make sure that all the yarn is through. Do not leave some “loose” on the yarn, because this will stay. Make sure that the yarn circles the selvedge warp thread nicely before you pinch and beat.
DON’T pull too hard on your yarn. This will make your fabric draw in.
Still, you cannot pull on the weft yarn too much. If you do so, you will make your fabric draw in. It’s important to me mindful of the weft yarn. It’s worth it to take the time to place it the way we really want it to be before beating.
4. Make an angle with the weft yarn
In weaving, the weft yarn needs to go over and under the warp threads. To help it achieve that, you need to give it extra yardage. This can be done by making an angle with the weft yarn. Note that you can also make a bubble shape. There is no precise rule about the size of the angle or the height of the bubble. With experience, you will know how much angle to give for your projects in order to weave neat selvedges. This leads me to my next point.
5. Practice!
Practice, experiment and learn!
Excellence comes with practice! I have never known a weaver who has aced his or her selvedges on their first project. And barely none who mastered it on their second. You’ll need to weave a few projects before being satisfied with them, thrust me! But with every project, you will get better and you will learn valuable lessons. This is what weaving is all about. Weaving is an art after all. There is a lot of room for experimenting and learning.
Bonus Tip: Don’t get discouraged!
Selvedges challenge EVERY weaver. You will need time in order to weave neat selvedges. But, keep going and you’ll get it, I promise! And remember, the beauty of a handmade project is all of its perfect imperfections!
Take Your Weaving Further
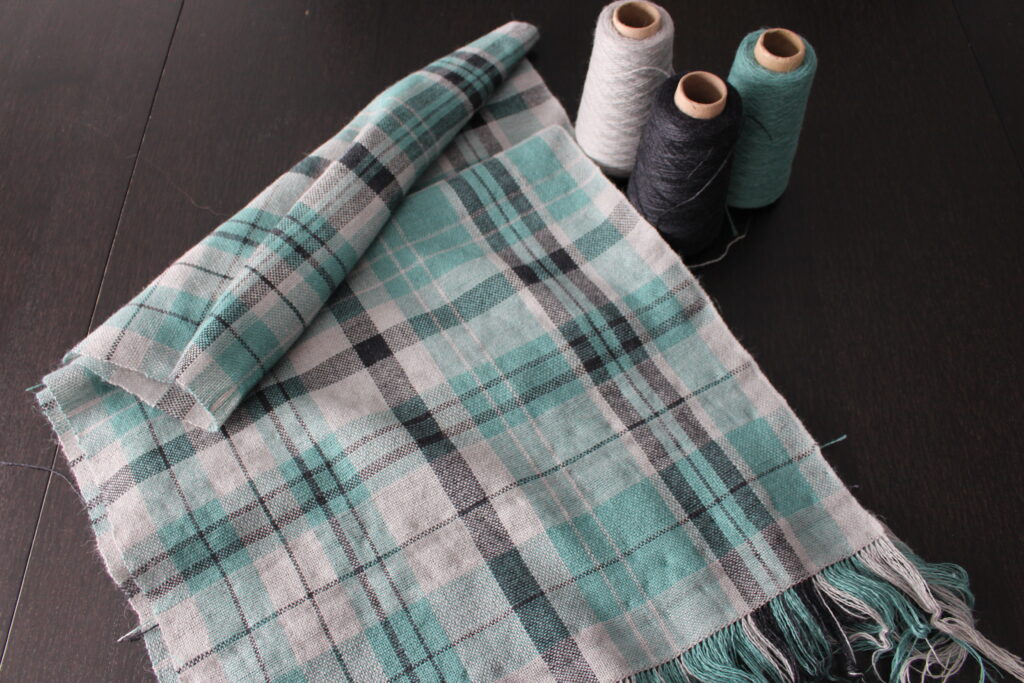
Weaving Plaid
Learn the basic of weaving plaid and discover the concept of plain weave in this quick tutorial.
Direct Warping on a Table Loom
This quick tutorial explains how to direct warp a table loom.
Thank you so much for your tutorials! I am just getting started weaving on a rigid heddle loom and I appreciate your words of encouragement.
You are welcome! 🙂
The thing that will help the most for even selvages is to have an odd number of ends. Start your warp by tying on the back apron, end with the warp peg. That will assure that both the left and right selvage is in either a heddle or a slot, applying the same tension with the reed in any position. The extra end will not be noticed in the finished cloth.
Thank you for sharing this tip!
Best beginner tutorial yet!
Thank you so much!
Bonjour Mylena, je me demande comment il se fait que j’ai toujours la bordure de gauche qui est correcte, et la droite fait des bulles? Aurais-tu une explication à ça? Pourtant je les traite de la même façon en pinçant le fil et en faisant un angle. Je ne comprends pas… Merci!